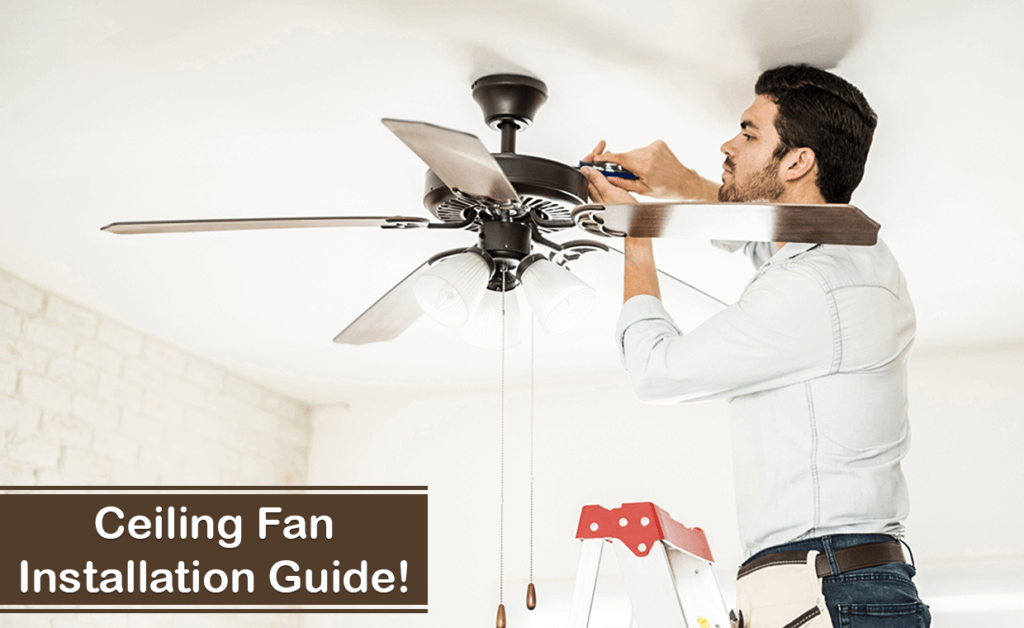
Using a ceiling fan in your home is very much an advantage for a person because it helps to improve the air circulation and also it is an appliance which has a low effect on the energy bill. This article will guide you on how to install a ceiling fan yourself and reduce your energy bill.
Installing a ceiling fan by yourself:
Before knowing the steps on how to install a ceiling fan you need to know what are materials and tools required for installing a ceiling fan:
Tools required to install a ceiling fan:
- Screwdriver.
- Power drill.
- Drill bits.
- Wrench.
- Ladder.
- Hammer.
- Wire cutter.
- Non-contact voltage tester.
- Needle nose plier.
- Tape measure.
- Dusk mask.
- Safety glasses.
Material required to install a ceiling fan:
- Electrical tape.
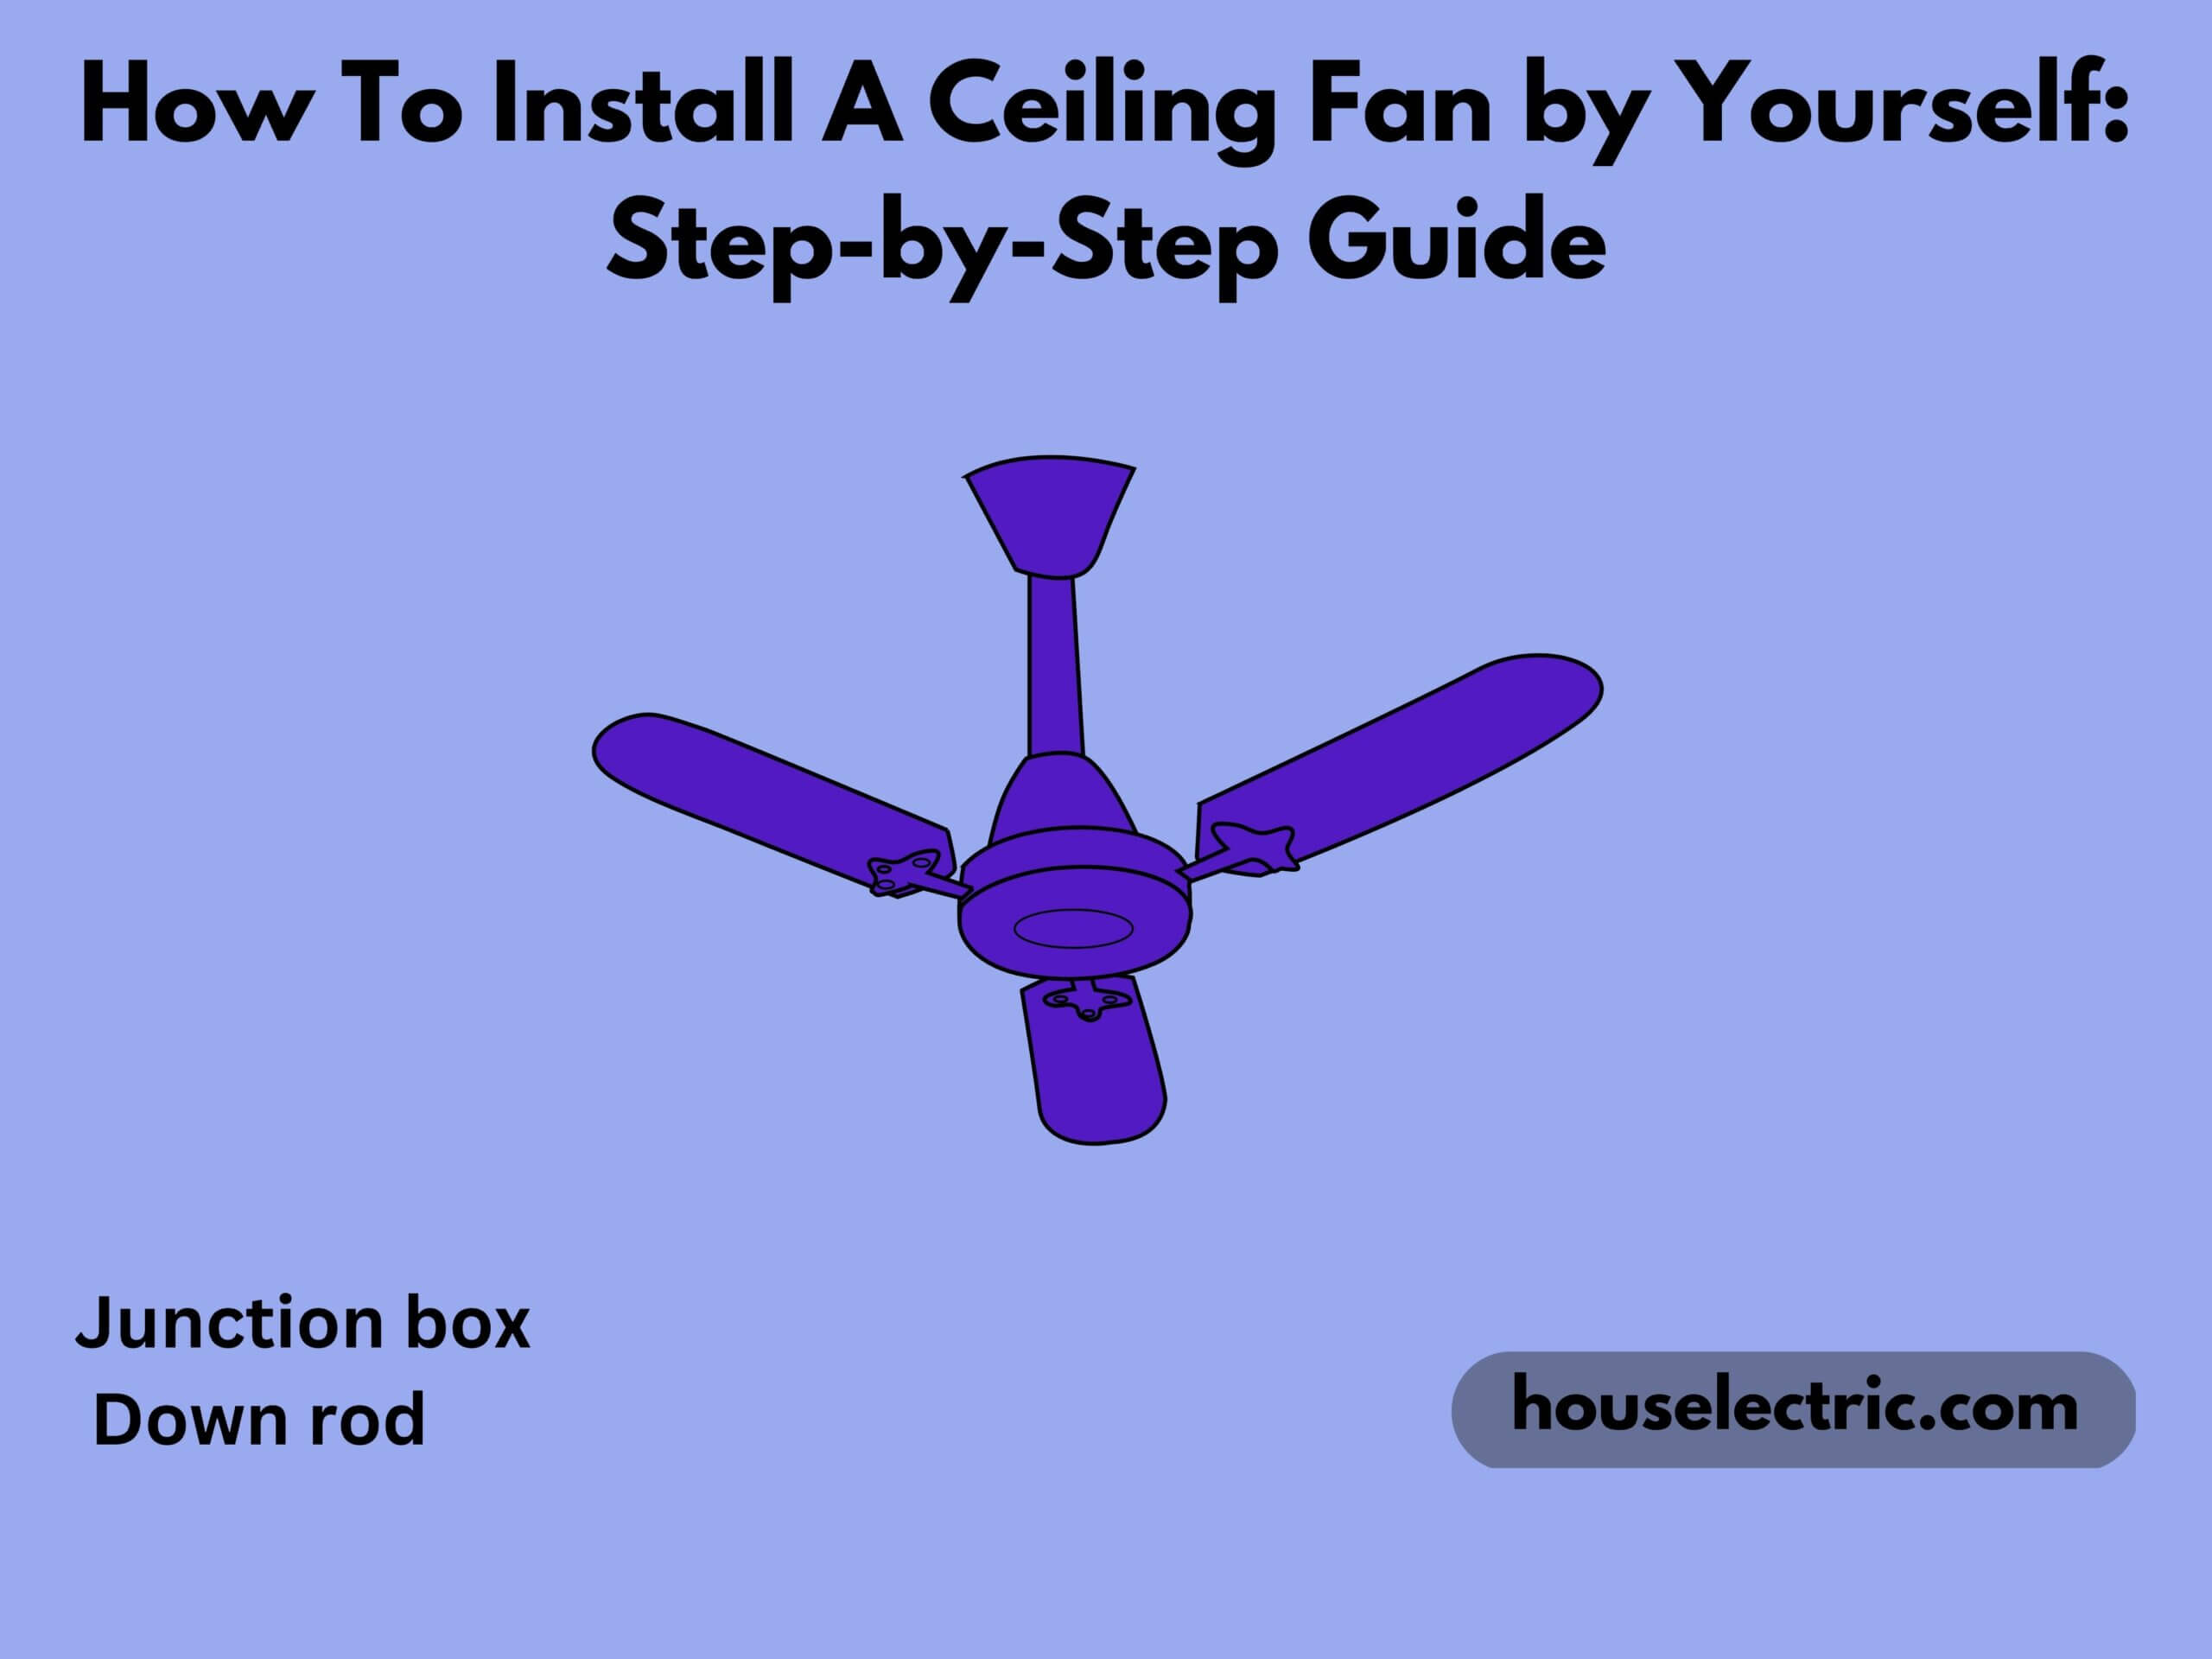
- Junction box.
- Ceiling fan.
- Ceiling plate.
- Fan brace.
- Wire connectors.
- Down rod.
- Mounting hardware.
Steps to install a ceiling fan:
The following are the step to install a ceiling fan:
Step-1
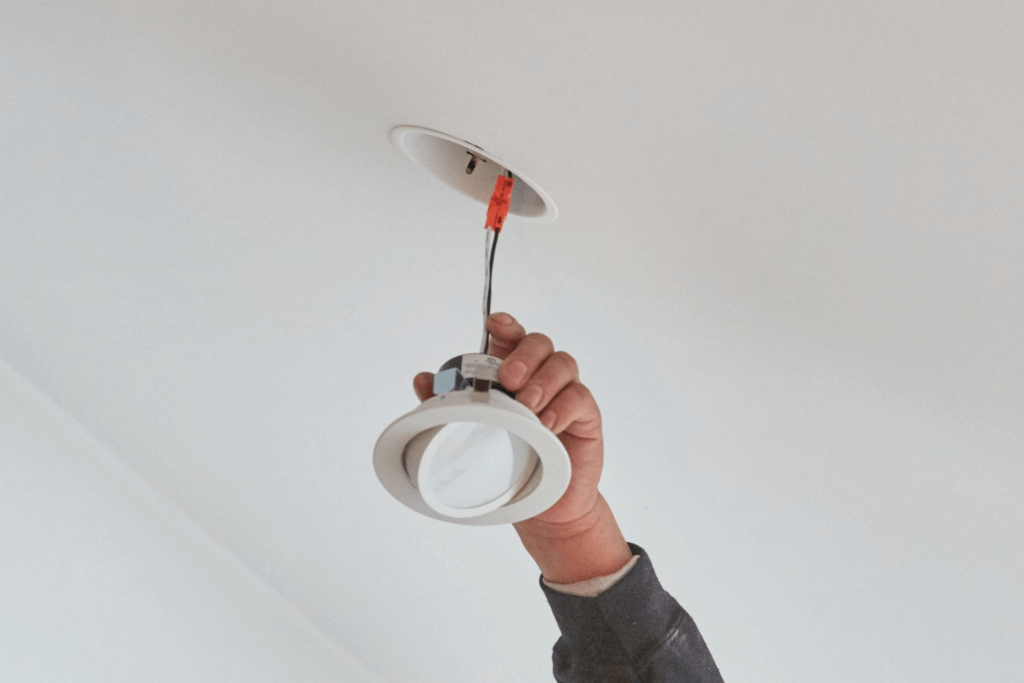
- The first step is to remove the existing light fixture for that you need to turn off the electricity to the circuit and after then only remove the glass old light fixture.
- For removing the light old fixture unscrew the nuts that hold the fixture.
- After unscrewing the fixture lower it and disconnect the wire.
Step-2
- After removing the old fixture you can start to remove the electrical box from the ceiling.use pry to remove the box if it is nailed to a joist and use a metal plate to unscrew the box if it is suspended from a bar.
- Mark the tracing by keeping the box against the ceiling centering on a joist with a pencil.
Step-3
- The next step is to make the feed of the ceiling of the electrical cable by the hole in the pancake box and you should make sure that the cable connector is connected to the knockout hole.
- After feeding the electrical cable set the box into the hole and press it tightly.
- To attach the box to the joist with the help of two 1 ½ inch no. 10 hex head screws and drive it with the help of a drill.
- After drilling the screwing and attaching the box to the joist wrap the bare copper wire and keep the wire end to hang it down only.
Step-4
- You need to apply some glue on the ceiling medallion and then pass the wires through the medallion.
- After applying the glue to the medallion center it on the pancake box and press it.
Step-5
- Now you need to hold the fan’s metal ceiling plate to the pancake box and then make the wire to feed through the center hole of the fan’s metal plate.
- Now it’s time to attach the box with the ceiling plate with the help of two 1 ½ inch long and 10 -32 machine screws.
- In case you want to paint the medallion you can paint it before the next step.
Step-6
- Now you need to feed the wires of the motor with a fan.
- Setting the wire of the motor through the center of the canopy put it on the top of the motor and pass the wires through the empty down rod pipe.
- Now you need to thread the down rod pipe into the top of the motor and tighten the square head locking screws with the help of a wrench but make sure not to remove the coating of the pipe thread.
Step-7
- After this, you need to hook one side of the canopy with the ceiling plate.
- Now it is time to twist on the wire connector and join the 2 green wires with the bare copper wire.
- After that join the two white wires with each other and connect the two black wires.
- After completing the wire connection swing the fan to the up position and protect the whole thing with two canopy screws.
Step-8
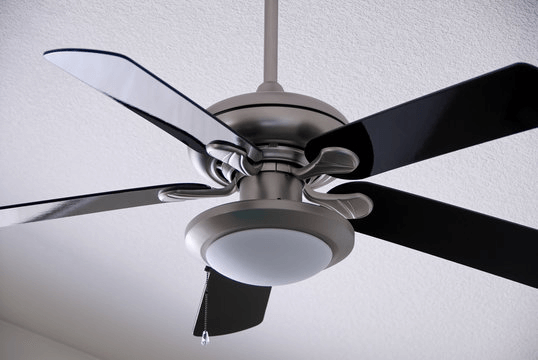
- Now here are the last steps to install the ceiling fan.
- Attach the fan blade to the blade iron so that it can hold the fan blade.
- Now you need to plug the fan’s light fixture with the wore that is hanging from the fan’s motor.
- After plugging it install the shades and lightbulbs.
- You can also follow the instructions that are mentioned on the packaging of the fan blade.
The height requirements for the ceiling fane:
Minimum down rod length for the angled ceiling slope:
| Blade diameter | 3/12 | 4/12 | 5/12 | 6/12 | 8/12 | 10/12 | 12/12 |
| 27 inches | 6 | 6 | 6 | 12 | 18 | 24 | 36 |
| 36 inches | 6 | 6 | 6 | 12 | 18 | 24 | 36 |
| 44 inches | 6 | 6 | 12 | 12 | 24 | 30 | 42 |
| 52 inches | 6 | 12 | 18 | 18 | 24 | 30 | 42 |
| 56 inches | 12 | 12 | 18 | 24 | 30 | 36 | 48 |
The following video will help you in detail how to install a ceiling fan easily:
Conclusion:
To install a ceiling fan you should first make sure to turn off the electricity of the circuit and then follow the steps to install the fan. if you are having any problem you can watch the video on how to install it or call a professional electrician to install the ceiling fan and fix your problem.
FAQ’s
What are mounting options you can use to install the ceiling fan?
The mounting option to install a ceiling fan is single mount fans, double-mount fans, and hugger-mount fans.
What to use a 3 or 4-blade fan?
Using a 4-blade fan is less noisy and is more potential to move air around the room.

Talking about the Website, I was Very Fond of Electronics from a very small age and my love for it grew as time passed. I then Opted for Electronics as a subject in the College along with Research on my own.
I then decided to share my Gathered Knowledge with you guys, So that it can help you too for Making Decisions and Solving Problems.
- How Many Solar Panels Do I Need For 1000 kWh? (Per Month & Day Explained) - March 29, 2023
- Mastering Your Home’s Electrical Consumption: A Guide to Wattage, Amperage, and Budget Management - March 28, 2023
- Trending Designer GFCI Cover Plates To Buy - March 27, 2023