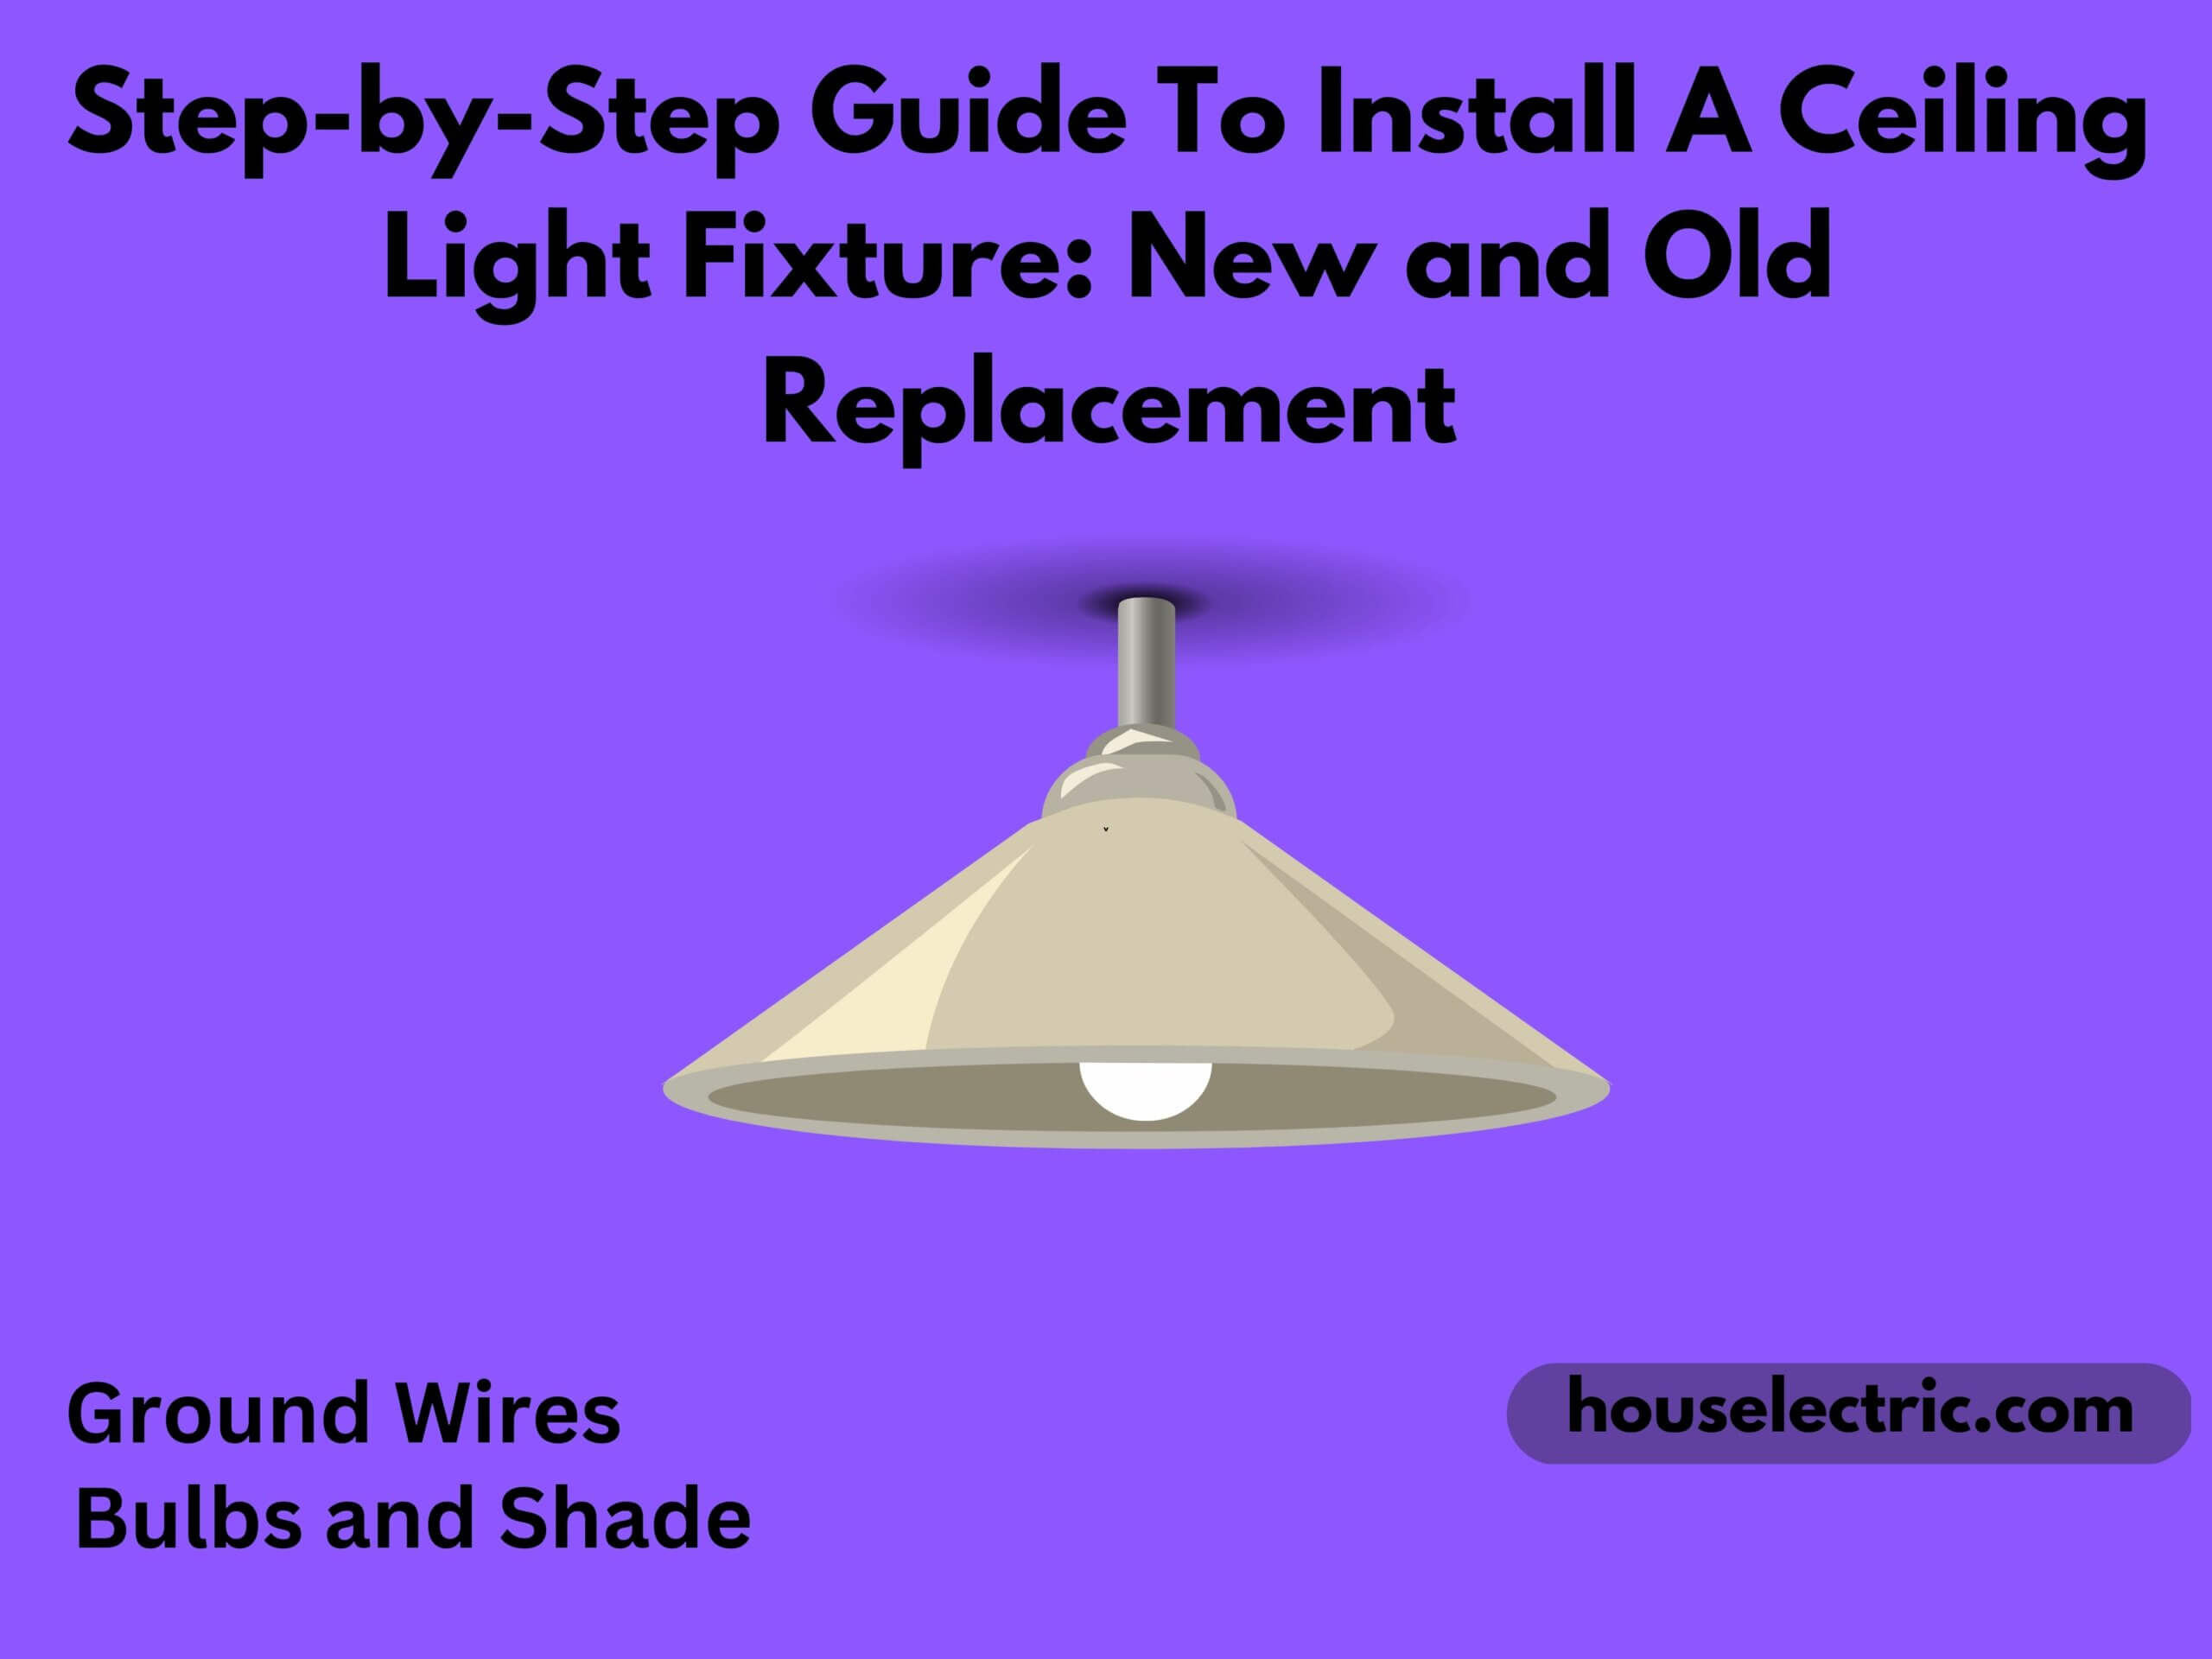
Installing a new or replacing an old ceiling light fixture is done having different reasons. For example, the old ceiling light fixture is replaced because the old fixture has worn out, and installing a new light fixture makes a huge difference in the room in order of the look and feel of the room. This article will guide you through the steps to install a ceiling light fixture.
Step-by-Step Guide To Install A Ceiling Light Fixture:
Install a ceiling light fixture is easy when you do the installation following all the instructions but there are some dangerous things you need to make sure to work with the electricity.to replace an old ceiling light fixture with a new one there are some extra steps needed to follow and for a new ceiling light fixture installation there are some different steps to start with it.
Replace a Ceiling Light Fixture:
The following are some steps you need to follow to replace an old ceiling light fixture:
- Remove the Old Light Fixture:
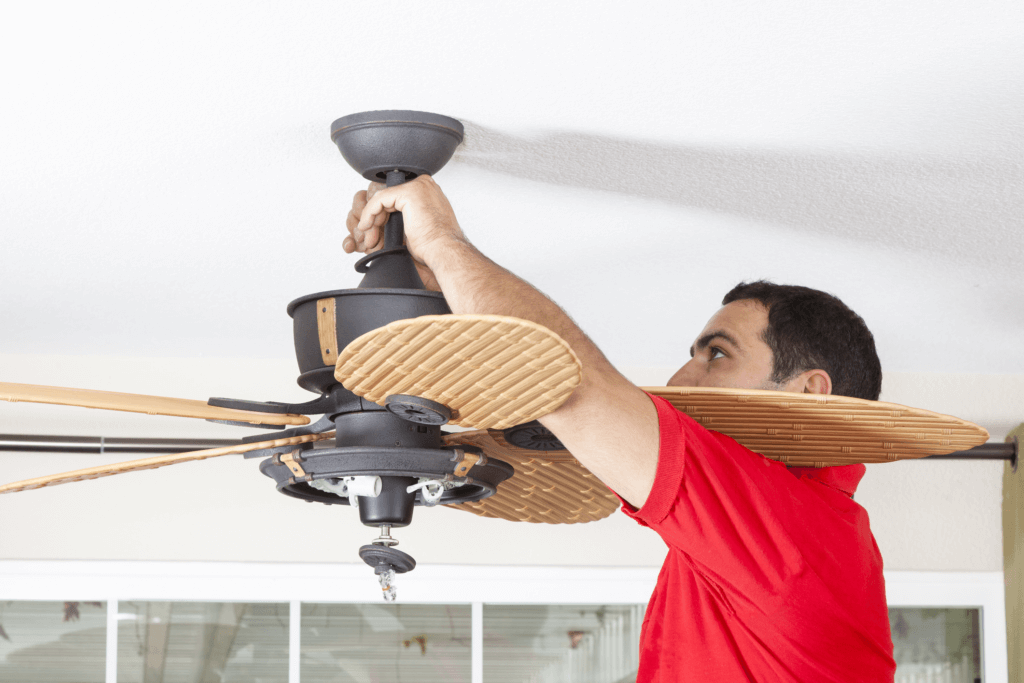
- The first thing you need to do is to remove the fixture shade or globe.
- The step to remove the shade depends on the type of fixture.
- There are some things you need to remove from the old light fixture such as loosening little screws, unhooking some mounting clips, unscrewing the glass shade, etc.
- After removing the fixture shade you need to separate the fixture base from the ceiling box by unscrewing the mounting screws which hold the fixture to the ceiling box.

4. Test for Power and Disconnect the Wires:
- After removing the fixture base you need to check the power with help of a tester to make sure that there is no current flowing through the wires.
- The next step is to disconnect the light fixture from the circuit wires and unscrew all the wire connectors.
- Things to add the fixture may have a copper grounding wire which is attached to the mounting strap on the box which you need to disconnect.
- Detach the light fixture and the last step is to remove the old mounting strap so that the new fixture can be fixed with its own mounting strap.
- Prepare the New Ceiling Fixture:
- The next step is to unbox the new ceiling fixture but you need to remove the glass for the shade carefully and set it aside in a safe place.
- The second step is to remove the plastic bag which contains the hardware.
- Now remove the fixture base from the box and look at the wire nicely.
- The fixture contains 3 wire leads such as black hot wire, a white neutral wire, and green copper ground wire.
- Notice if the light fixture has 2 more lamp sockets and black and white wires are not connected for each socket in that case join the white wires together with the wire connector. you have to join the black wire leads together with them.
- Now you need to check how to do it by reading the light fixture which can vary on the size and weight of the light fixture.
- There may be sometimes it simply just a matter of screwing the light fixture but if you are styling a mounting strap for that you need to first attach it to the ceiling box after the fixture is screwed to a mounting strap.
- If the fixture is heavier you need to use a thread mounting tube into a hole on the mounting strap.
- Install the Mounting Strap:
- In case needing a mounting strap you first need to check the strap including the new light fixture.
- For checking there might be several small threaded and some may be attached to the strap to the ceiling box and others would support the light fixture base.
- It also contains a larger thread hole in the center to support the threaded mounting tube that screws into the strap.
- Now the last step is to strap it against the base of the light fixture to check the screw holes will be able to support the fixture.
- Now attach the mounting strap to the ceiling box using the screw holes lines up.
- Inspect the Circuit Wires:
- Now it’s time to inspect the circuit wires, there may be some possibility that the older circuit wires will be suitable to attach to the new light fixture.
- You would find one wire with white insulation, another with black insulation, and the last one with bare copper with green insulation.
- You would find that the circuit ground wire connected to a green ground screw in the back of the box.
- Connect the Ground Wires:
- Now it’s time to connect the ground wire to the ceiling light fixture which can vary on the type of fixture and ceiling box.
- You also need to know that the light fixtures’ ground lead should have a metal pathway to the circuit grounding wire because it will be very dangerous to install the ceiling fixture without the ground pathway.
- In case of having a ceiling box of plastic then you just need to attach the circuit ground wire directly to the fixture’s ground lead.
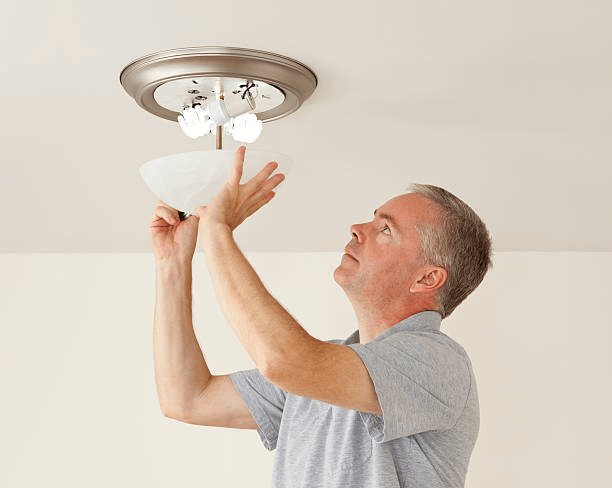
- Connect the Neutral and Hot Wires:
- The next step is to join the neutral and hot wires for that you need to join the circuit neutral wire to the fixture neutral lead with the help of a wire connector.
- Follow the same step with the circuit and fixture hot wire.
- Mount the Fixture Base:
- After connecting the wires you need to attach the fixture base to the ceiling box.
- The mounting of the fixture base depends on the style in which the base will be attached with two screws which have a thread into screw holes.
- If during the installation it uses long screws then it will require to take more time to screw through insulation in the base of the fixture and thread it into the ceiling box.
- For locking onto the screws you need to push the fixture over the screws and then twist the fixture slightly.
- Lastly, you have to tighten the screws so that the fixture base gets tight against the ceiling.
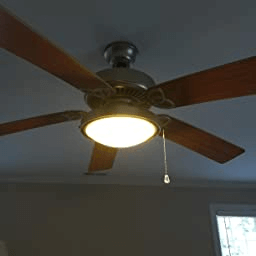
- Install Light Bulbs and Shade:
- The last step to installing a ceiling light fixture is completed by installing light bulbs.
- After installing, turn on the power back and turn on the light to watch the result.
- If everything is working properly you need to install the globe or shade.
Installing a new ceiling light fixture:
The following are the steps you install a new ceiling light fixture:
- Turn off the power from the breaker panel to the fixture and leave a message type there so that no one turns it on.
- After turning off the power remove the light bulbs, shades, and glass cover to avoid and prevent any breaking of the glass.
- The next step is to unscrew the fixture from the ceiling and for this, you need help to hold the fixture to unscrew it until you don’t completely disconnect the fixture from the ceiling.
- For Unscrewing you need to unscrew the caps which connect the wiring from the old fixture to the electrical system.
- After fixture wiring, you should take a photo of the wiring to have visual references.
- Install the new mounting bracket for the light fixture and make sure that the wire goes down through the bracket.
- With the help of help raises the fixture to the ceiling.
- It’s time to connect the same colored wires together with the help of a picture you have clicked before. To connect the wire use the wire connector and make sure the wires are secure.
- If there is a grounding wire you need to connect it to the copper or green grounding screw. And check the wire connection before beginning the mounting to the ceiling.
- To check you need to put a bulb in the fixture and turn on the light switch to check it is connected properly.
- Turn off the power after checking.
- Now it’s a step to attach the fixture to the ceiling and screw it according to the installation instructions.
- The last step is to add the Light shades, all the decorative pieces you want, and a light bulb to let the finishing of the light fixture installation. On the power again and enjoy the feeling of having a new light fixture.
The following video will help you to learn how to install a ceiling light fixture:
Conclusion:
Replacing the old light fixture and Installing a new ceiling light fixture takes more steps to complete but install a ceiling light fixture that is new does not involve the steps of removing the old fixture.

Talking about the Website, I was Very Fond of Electronics from a very small age and my love for it grew as time passed. I then Opted for Electronics as a subject in the College along with Research on my own.
I then decided to share my Gathered Knowledge with you guys, So that it can help you too for Making Decisions and Solving Problems.
- How Many Solar Panels Do I Need For 1000 kWh? (Per Month & Day Explained) - March 29, 2023
- Mastering Your Home’s Electrical Consumption: A Guide to Wattage, Amperage, and Budget Management - March 28, 2023
- Trending Designer GFCI Cover Plates To Buy - March 27, 2023