Using a GFCI outlet reduces the risk of deadly shock which can occur from ground fault and any device fault by immediately turning off the circuit to stop any shock to get any person so for that if you are not having a GFCI outlet you need to replace it with a GFCI outlet. Because wiring a GFCI outlet can save hundreds of lives from severe injuries. This article will guide you on how to wire a GFCI outlet, types of GFCI, etc.
How to Wire a GFCI Outlet With Pigtails?
There are many cases like having a GFCI outlet, suppose they are not working then you need to replace the GFCI outlet. you can also check to ensure that they are working or not by pressing the test button and then the reset button.
The following are some steps to know how to wire a GFCI outlet with pigtails:
Turn Off the Power:
- The first step is to turn off the power at the circuit breaker or fuse and make to add a note so that no other turns on the electrical panel.
- After turning it off you need to recheck it by using a voltage tester.
- Always remember to wear rubber-soled shoes and wear rubber handles while working with electrical wiring.

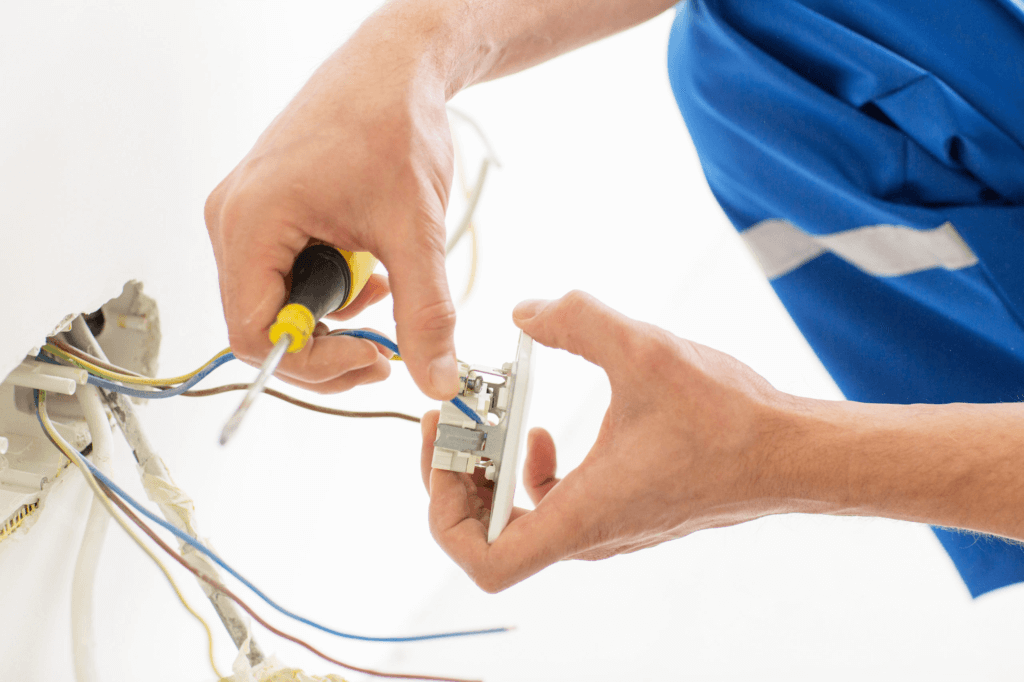
Removing the existing wire:
- For removing the wall plate you need to use a screwdriver.
- The next step is to remove the mounting screws and gently pull out the switch from the wall box.
- In case of replacing the old GFCI outlet with a new one, you need to label the black and white wire on the line and load terminals.
- After labeling disconnected the wires from the old outlet.
- Make sure that the wire is straight and is not touching each other.
- For removing the wire insulation use wire strippers to remove ¾ inch of copper conductor.
Identify the Line Wires:
- For positioning the wire you should pull out the wall box so they cannot touch each other and restore the power.
- If you are installing a GFCI circuit on an ungrounded circuit you need to follow the instruction given by the manufacturers.
- Be careful with the next step for touching the black probe of the voltage tester to the metal box and placing the red probe of the tester to the very black wire which is used to connect the line brass screw terminal until the tester shows light.
- Now leave the red probe in the black line hot wire and next you need to place the black probe on the white wire which is used to connect to the Line silver screw terminal until the tester shows the light.
- The last is to Turn the power off.
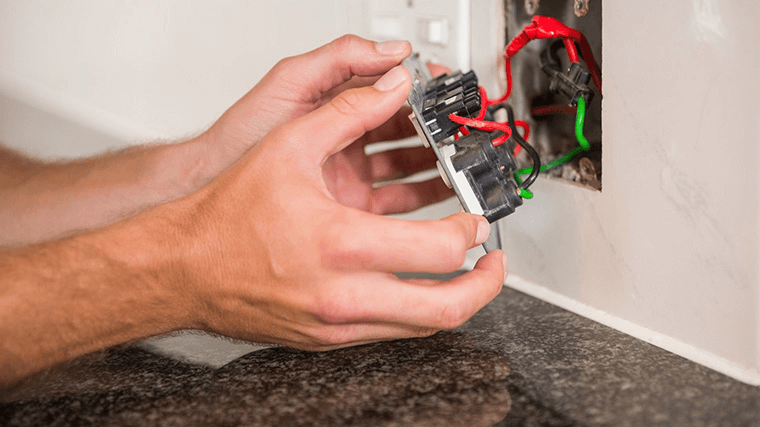
Connect the Wires:
For connecting the wires the following are some instructions you need to follow:
- The amp rating of the new GFCI outlet should match the amp rating of the wiring and breaker to which you are going to connect it.
- If you are having difficulty turning the new GFCI outlet you can unscrew the terminal screws.
- Now you need to connect the black Line hot wire by inserting the wire in a hole to the brass screw and tight the terminal screw.
- After connecting the hot wire you need to connect the white line neutral wire by interesting the wire into the black wire hole to the silver screw and again tight the terminal of the screw.
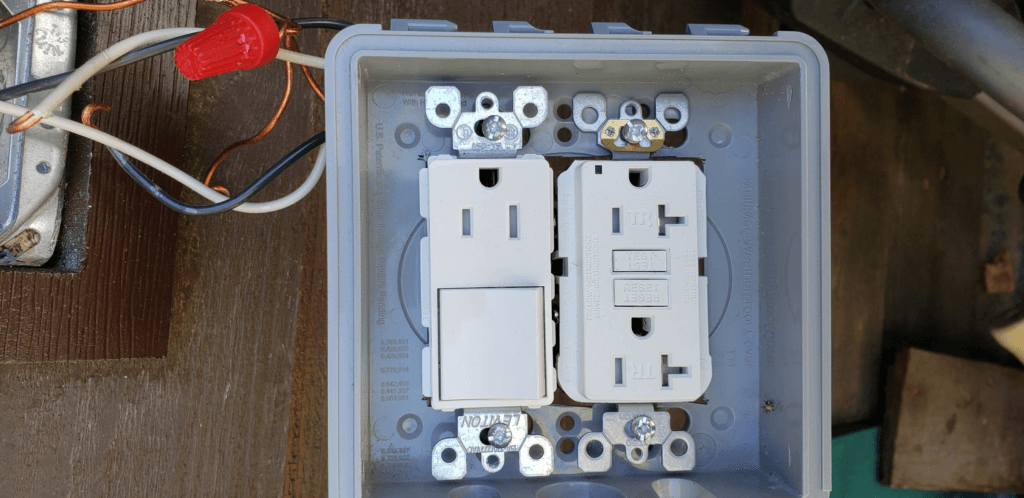
- In case there are four wire plays on the outlet box then you can connect the second black wire to the brass terminal and the other white wire to the silver terminal marked load.
- The next wire to connect is the ground wire to the green ground screw and for this, you need to insert the wire into the black wire hole.
- Also in case of having multiple ground wires, you need to connect them with a copper pigtail and wire the nut and make sure to attach the loose end of the wire to the green ground screw.
Note:
For connecting the wire attach the black wire to the balche and white to the white wire and follow the safety instruction by wrapping the GFCI wiring connections with electrical tape.
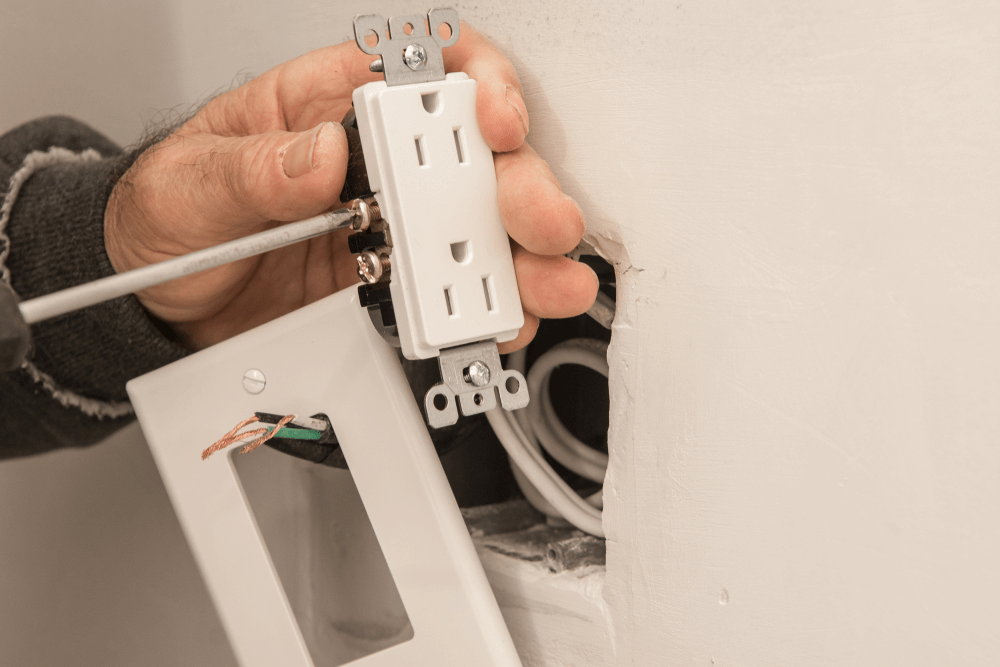
Place the GFCI into the Wall Box:
After connecting the wire carefully place the GFCI outlet into the wall box and tighten the mounting screw to secure it.
Cover with the Wall Plate:
- The last step is to install the wall plate cover.
- After installing the wall plate restore the power.
- The last step is to press the reset button on the GFCI outlet.
You can follow the below video to know in detail how to wire a GFCI outlet:
Tools and materials required for wiring a GFCI outlet:
The following table shows the list of tools and materials require for wiring a GFCI outlet:
| Tools required | Material required |
| 4-in-1 screw-drive | Electrical boxes |
| Electrical tape | Electrical cable |
| Needle-nose pliers | GFCI outlet |
| Non-contact voltage tester | Wire nuts |
| Utility knife | Wire staples |
| Voltage tester | |
| Wire stripper/cutter |
Conclusion:
You need to wire your electrical panel with the GFCI outlet to keep the home safe. You can easily do it by yourself after following the above steps but in case there is something that you are not able to understand while wiring a GFCI outlet dont take risks instead of that you should get advice from a professional electrician.

Talking about the Website, I was Very Fond of Electronics from a very small age and my love for it grew as time passed. I then Opted for Electronics as a subject in the College along with Research on my own.
I then decided to share my Gathered Knowledge with you guys, So that it can help you too for Making Decisions and Solving Problems.
- How Many Solar Panels Do I Need For 1000 kWh? (Per Month & Day Explained) - March 29, 2023
- Mastering Your Home’s Electrical Consumption: A Guide to Wattage, Amperage, and Budget Management - March 28, 2023
- Trending Designer GFCI Cover Plates To Buy - March 27, 2023